


If you remember In most Fighting Fantasy books from the distant past, you always had the opportunity to heal your depleted Stamina score by munching on your provisions that you either had already, or simply found during the course of your adventure. So with this episode of Grim’s Dungeons of Doom, that’s what we’re going to create.
So, with that in mind I had to come up with something I could use during games to represent such found munchies as and when (Think of the computer game “Gauntlet” and I’m aiming for that sort of thing.) I’ll be making other markers in this way (Keys ,Treasure, poisoned provisions, corpses etc) but this one has much more application in other models beyond just the markers.

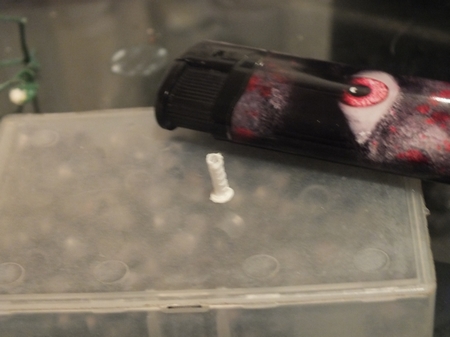
Ok, so your going to need some of these. Airgun pellets, mainly Crosman powershot to be precise. Airgun pellets come in all sorts of wonderful shapes, and it was completely by accident that I came up with this method. I had a ton of different ones stashed away and thought to myself that there must be loads of things that I could use them for (I’ll also be using them in future builds, so if your following these articles and replicating the tutorials, you’ll probably need to get hold of some!)

Don’t get me wrong, the Powershot pellets are a tad pricey, but since bottles in 28mm are few and far between (and quite expensive too) This will produce decent replicas that are cheaper than getting purpose cast mini bottles. I’ll keep trying to find other solutions to this problem, as I’m sure that there will be other methods to make similar from scratch, but for now, this is the most effective way I have found. Also, the red plastic sleeve can be removed and used as cups to accompany your bottles of grog! So lets get started.
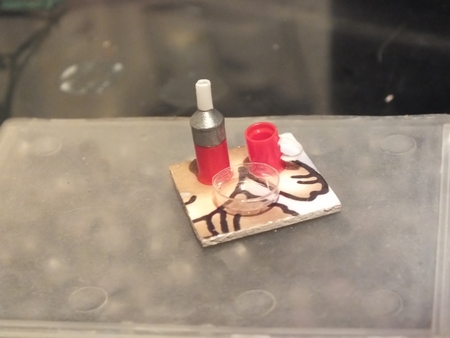
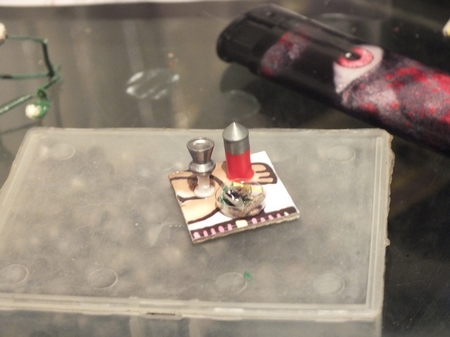
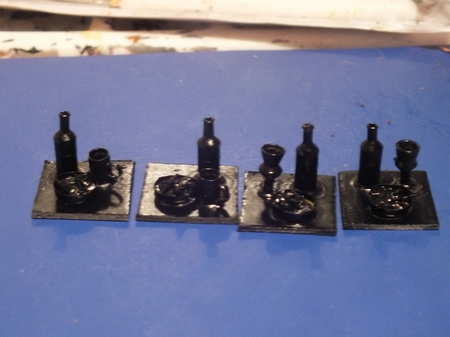
For the bottle and beer mug version, get a base and stick down a full pellet and a sleeve you’ve removed the slug from. Superglue them down securely.

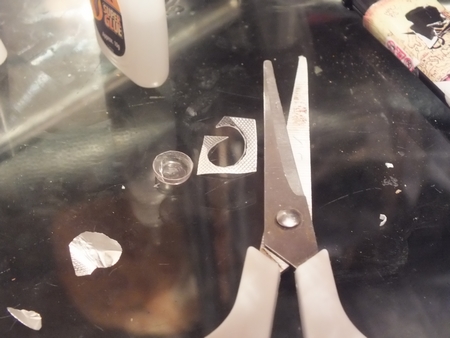
Take a small drinking straw and slightly melt the end until it curls slightly to add some thickness to it. Then carefully snip off a ring (Similar to to the door rings in the simple door and opening door tutorials)
Cut this small ring in half to form the handle, then stick it on with some superglue. Be careful, this can be tricky to do without the superglue sticking it to your fingers!
Take a Qtip cotton bud and snip off a small piece of the tube to form the bottle neck, glue it down centrally on top of the pointed part of the pellet. You can slightly melt the top of the tube to form a ridge for the top of the bottle for added detail.

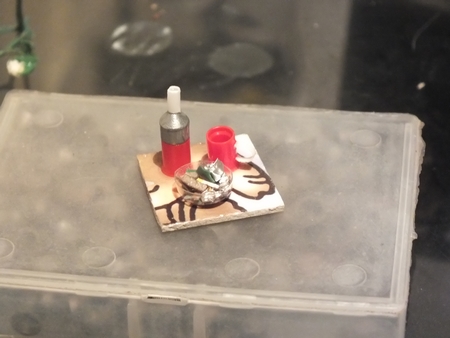
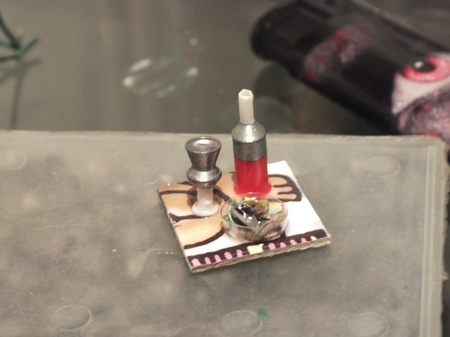
Next, take a pill/tablet blister and cut out one of the empty small pill containers to form a plate for the provisions. Trim it down to the right size, and glue it down. These pill blisters are from some kind of caffine tablets, so they are pretty small, its up to you what size you use, but I find that these are perfect for a normal plate in 28mm.
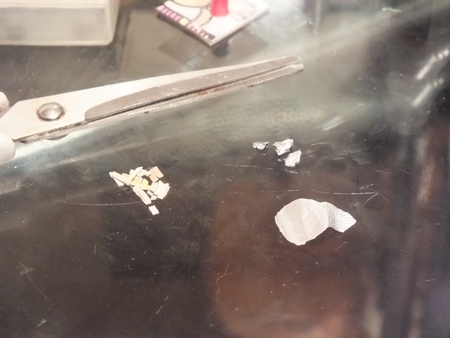
Next, get some detrius, a bit of silver foil, dried up acrylic paint, card,in fact anything you can realistically chop up and use to form what goes on the plate. you could sculpt some if you wish, but this method is free and quick. Shred it all up, screw up the foil or whatever your using and fix it all in to the plate by dripping in some runny superglue.
This set is now ready to paint. For the goblet version its pretty much as before except to form the goblet, you will need a plastic Qtip cotton ear bud to start. Cut of the ends and you’ll be left with the plastic stick which should be hollow. Melt one end and push down onto something flat and cold until it forms a base for the goblets bottom. Trim when cooled and you’ll have your base.
Next, you’ll need an airgun pellet to form the bulb of the goblet. I have a ton of different .22 pellets so I used the best looking one that resembled best the bulb of the goblet. Glue the goblet base to the base, and affix them to it.


Repeat this whole process as before to finish the piece.
As ever, take the pieces and spray them black to undercoat. Just a note: spray these instead of using a brush, the individual parts can be delicate so its better to spray. This way it will minimize the risk of any breakages during painting and finishing.
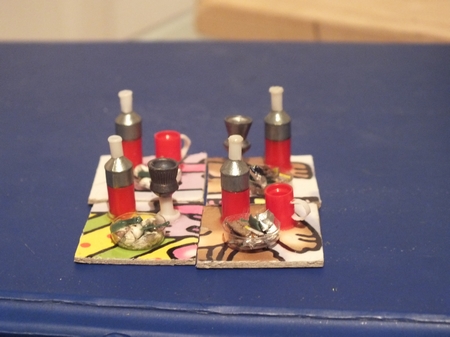
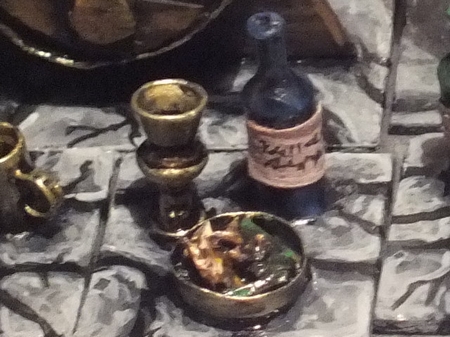
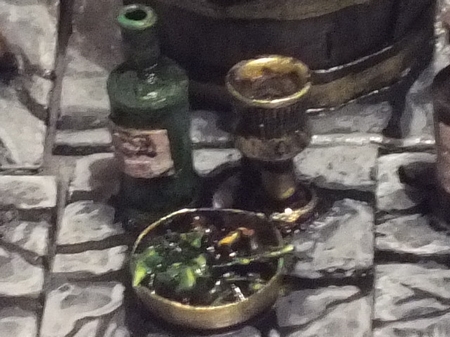
Proceed to painting. I used green, blue and brown for the bottles, washing with a black ink to give them a shiny glossy glass look. goblets and mugs were done in an antique gold (since I had ran out of silver!)
I also took some painted up tiny labels from a brown envelope and stuck them on to each bottle for labels. You could shrink down some proper labels and print them out if you wish (if you wanted brand named ones) but the home made ones look just as good.

Paint up the base to match the rest of your dungeon tiles and your done! I think these are really nice pieces and will add loads to any scenic you’d furnish with them.


Forgive some of the blurry pics, 1p piece for scale and comparison with the recent barrels I showed you how to make.


So there you have it, bottles, food and a cup to drink from, you can’t get better than that if you’ve lost a bit of stamina during your adventures! In fact all that drink and grub leaves me in a bit of a tavern mood…
Join me next time with Grim’s Dungeons of Doom where I will be taking you to the Inn, and showing you how to put together some of the techniques I’ve been showing you and create a tavern bar for your games….


These tutorials are absolutely brilliant Will!!! I really will have to have a go at some of these in the new year. Please keep them up.
Cheers Roger.
LikeLiked by 1 person
Thanks Roger, I’m glad your enjoying them, there are still loads planned out and I’m building up to a big Frostgrave make (which is sort of in the series, but is interchangeable if you know what I mean!)
next articles up is a tavern bar scene and accessories that will make use of some of the other methods I’ve been using (barrels, provisions & bottles etc) I’ve got a ton more half done with a focus on room features like a reality tear portal, spider nest and lots of other bits too, I think this type of terrain building has lots of potential for making hundreds of ideas and articles!
Who knows, I amass enough material, I’ll be able to publish them in a tome!!
LikeLike
[…] drying, make some barrels (as in the tutorial for barrels) and create a strip of bottles (as in the provisions tutorial) mounted on a strip the same size of the middle shelf. This piece was created separate to make sure […]
LikeLike
[…] some might say this edition is dumbing down after the tavern bar tutorial, and the recent Provisons markers edition, but I hope to cover a broad range of dungeon bits right across the board, and some of them are […]
LikeLike
[…] props like Bookshelves, Barrels, provision marker and chest. (Treasure tutorial forthcoming […]
LikeLike